Screen recording on your iPhone is a valuable feature that lets you capture visual and audio elements from your screen. This capability is handy for creating tutorials, sharing gameplay, or documenting significant events, as recording with sound enriches the overall experience.
This comprehensive guide will provide a detailed, step-by-step walkthrough for screen recording with sound on your iPhone.
Enabling Screen Recording
Before you can begin screen recording with sound on your iPhone, you must enable the Screen Recording feature in your Control Center.
Here’s how to do it: Open the Settings app, then navigate to Control Center. From there, tap on Customize Controls and add the Screen Recording option. This will make the screen recording icon readily available in your Control Center.
How to Screen Record on Your iPhone
After enabling screen recording, starting a recording is straightforward. Swipe down from the top-right corner of your iPhone screen to open the Control Center.
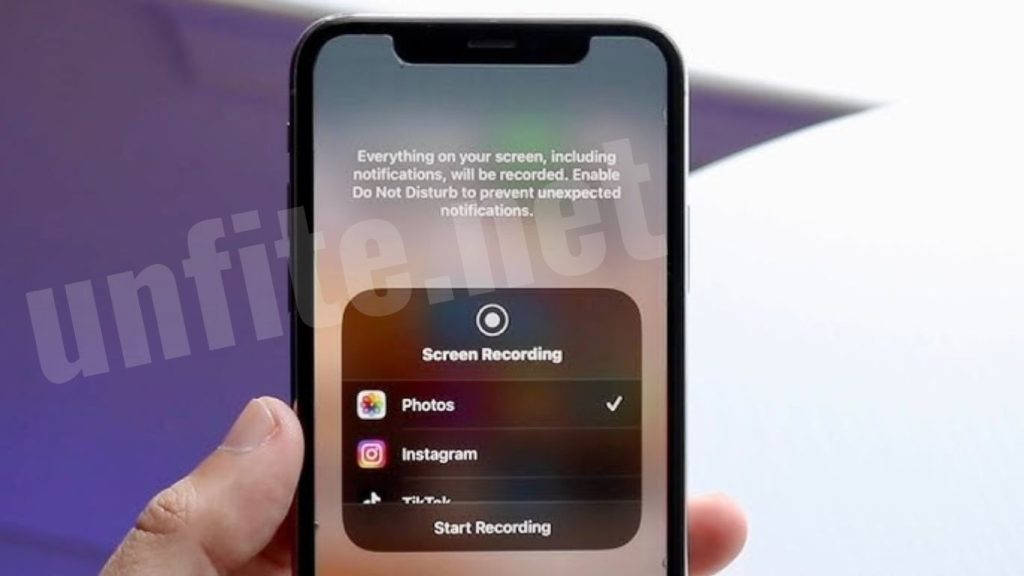
Next, tap the Screen Recording icon, which appears as a circle with a dot in the center. A three-second countdown will give you a moment to get ready before the recording starts.
Stopping the Recording
To stop recording, tap the red clock icon in the status bar at the top of your screen. Alternatively, you can open the Control Center again and tap the Screen Recording icon to stop. Once the process is complete, your recording will be automatically saved to your Photos app.
Limitations with FaceTime Calls
It’s essential to be aware that while your iPhone’s built-in screen recorder can capture screen activity with sound, recording audio from certain apps, especially during FaceTime calls, has limitations.
You cannot use the native screen recording tool to record FaceTime calls with sound. This limitation also extends to other video calling apps. However, alternative apps like Riverside provide solutions for recording video calls with audio.
Exploring Third-Party Apps
While iOS’s native screen recording tool meets basic recording needs, third-party apps offer enhanced features and functionalities.
For instance, apps like Record It! and V Recorder provide options for recording reaction videos, adding voiceovers, and using a teleprompter for scripted content. These tools can be especially beneficial if you need more advanced recording capabilities beyond what the built-in screen recorder provides.
Tips for Better Screen Recordings
Enable Do Not Disturb: To prevent interruptions during your recording, activate Do Not Disturb from the Control Center.
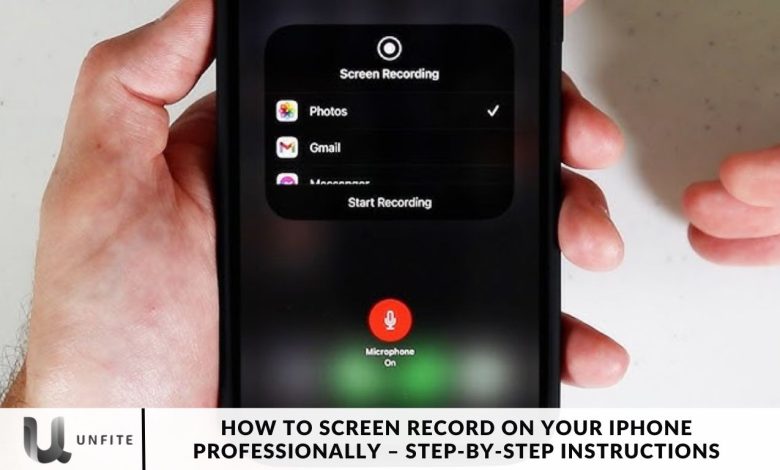
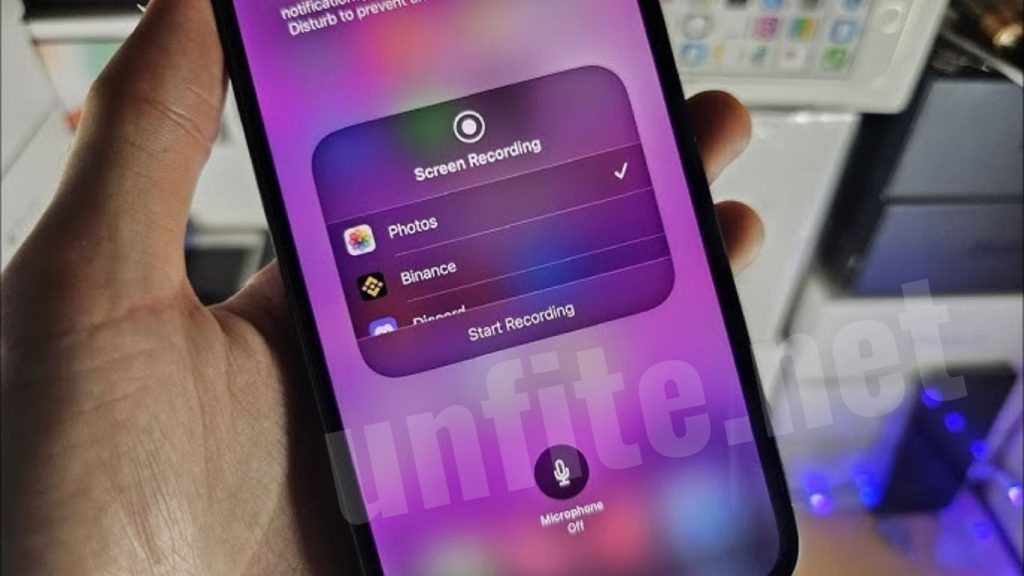
Record Audio: To capture audio along with your screen recording, press and hold the Screen Recording button in the Control Center, then tap Microphone Audio to enable sound recording.
Plan Your Recording: Outline what you intend to capture to ensure your recording is clear and focused.
Following these steps, you can effectively capture and share your iPhone screen content. Screen recording is a valuable tool for enhancing digital communication, whether for personal or professional purposes.
Initiating Screen Recording with Ease
With the Screen Recording button now easily accessible in your Control Center, capturing your screen’s activity is a breeze:
- To open the Control Center, Swipe down from the upper-right corner of your screen. If you have an iPhone with a Home button, swipe up from the bottom edge instead.
- Start Recording: In the Control Center, locate the Screen Recording icon, which resembles a solid circle within a ring. Tap it to begin.
- Countdown: A brief three-second countdown will give you time to prepare before the recording starts. You can then exit the Control Center and use your iPhone as usual while it records your screen activity.
- Recording Indicator: A red status bar or time indicator at the top of your screen will signal that recording is in progress.
With these steps, you can capture everything from gaming sessions and app demonstrations to any other on-screen action you want to share or keep.
Managing and Editing Your Screen Recording
Once you’ve captured your screen recording on your iPhone, the following steps involve managing and editing your video to ensure it meets your needs. Here’s a detailed guide on how to handle this process:
Stopping the Recording
Using the Red Status Bar
When screen recording is active, a red status bar or red time indicator appears at the top of your screen.
To stop recording, tap this red bar. A confirmation prompt will appear; tap Stop to end the recording.
Using Control Center
Alternatively, swipe down from the upper-right corner (or swipe up if your iPhone has a Home button) to open the Control Center.
Tap the Screen Recording icon once more to stop the recording. The icon will turn gray, indicating that the recording has ended.
Accessing Your Screen Recording
Locating the Recording in Photos
- Open the Photos app on your iPhone.
- Go to the Albums tab and select Screen Recordings to find your video. It will also appear in your Recents album.
Managing Recordings
You can share, delete, or organize your recordings from the Photos app.
Editing Your Screen Recording
Using iPhone’s Built-In Editing Tools
- Open the recording in the Photos app.
- Tap Edit in the top-right corner. Here, you can trim the video by dragging the handles on the timeline.
- Adjust the video’s exposure, brightness, and contrast if needed.
- Tap Done to save your edits.
Adding Annotations and Effects
- Use apps like iMovie or third-party editing tools for more advanced editing.
- Add text overlays, annotations, and transitions to enhance your video.
Exporting and Sharing Your Screen Recording
Exporting Your Video
In the Photos app, tap the Share icon to export your video.
Choose your preferred method, such as saving to Files, emailing, or sharing on social media.
Sharing Directly from the Photos App
Select Share and choose platforms like YouTube, Instagram, or Facebook.
Customize your sharing settings before posting.
Frequently Asked Questions
How do I enable screen recording on my iPhone?
To enable screen recording, go to Settings > Control Center. Tap Customize Controls and add Screen Recording. This will make the Screen Recording icon accessible from the Control Center.
How do I start a screen recording on my iPhone?
Swipe down from the top-right corner of your screen (or swipe up from the bottom on models with a Home button) to open the Control Center. Tap the Screen Recording icon, which looks like a circle with a dot in the center. A three-second countdown will begin before the recording starts.
Can I record audio along with my screen?
To record audio, press and hold the Screen Recording icon in the Control Center, then tap Microphone Audio to enable sound recording. This will capture both on-screen activity and external audio.
How do I stop a screen recording on my iPhone?
To stop recording, tap the red status bar at the top of your screen, return to the Control Center, and tap the Screen Recording icon again. Your recording will be automatically saved to the Photos app.
Where can I find my screen recordings after saving them?
Open the Photos app and go to the Albums tab. Your recordings will be in the Screen Recordings and Recent Albums.
How can I edit my screen recording on my iPhone?
Open the recording in the Photos app and tap Edit. You can trim the video by adjusting the timeline handles. Consider using apps like iMovie or third-party video editing tools for more advanced editing.
Can I record FaceTime calls using the native screen recording tool?
Currently, the native screen recording tool does not support recording FaceTime calls with sound. You may need to use third-party apps like Riverside for this purpose.
Are there any third-party apps for advanced screen recording features?
Yes, apps like Record It! and V Recorder offer additional features such as recording reaction videos, adding voiceovers, and using a teleprompter for scripted content.
Conclusion
Mastering the art of professional screen recording on your iPhone enhances your ability to capture and share valuable content, whether for tutorials, gameplay, or important moments. By enabling the Screen Recording feature, you can effortlessly document on-screen activity and audio, ensuring your recordings are clear and engaging.
With the built-in tools and settings, such as adding microphone audio and managing your recordings, you can tailor your videos to meet your specific needs. For those seeking more advanced features, third-party apps offer additional capabilities like reaction recording and v