A comprehensive guide, we’ll walk you through the process of setting up a WhatsApp Business account. WhatsApp Business is an essential tool for entrepreneurs, providing features such as Quick Replies, Greeting Messages, and other functionalities designed to improve customer communication. With more than 50 million businesses currently utilizing it, WhatsApp Business has proven to be a transformative platform for enhancing business interactions.
To maximize WhatsApp Business’s benefits, it’s essential to understand how setting up a WhatsApp Business profile helps establish your business’s identity on the platform, much like a website. This profile serves as a digital storefront where customers can learn about your business and interact with you.
If you still need to get a WhatsApp Business account or are looking to set up a new one, we’ll begin with a brief overview of the setup process.
What is WhatsApp Business?
WhatsApp Business is a dedicated platform tailored for business use, offering a range of features to streamline communication with customers. Businesses can engage with clients through the familiar WhatsApp interface, available on Android and iOS devices and via WhatsApp Web. This eliminates the need for a separate business application. Launched by Meta in 2018, WhatsApp Business has quickly gained widespread adoption and remains a popular choice for enhancing business communication.
How to Create a WhatsApp Business Account
Let’s delve into the step-by-step process for setting up your WhatsApp Business account:
Install WhatsApp Business App On Your Mobile:
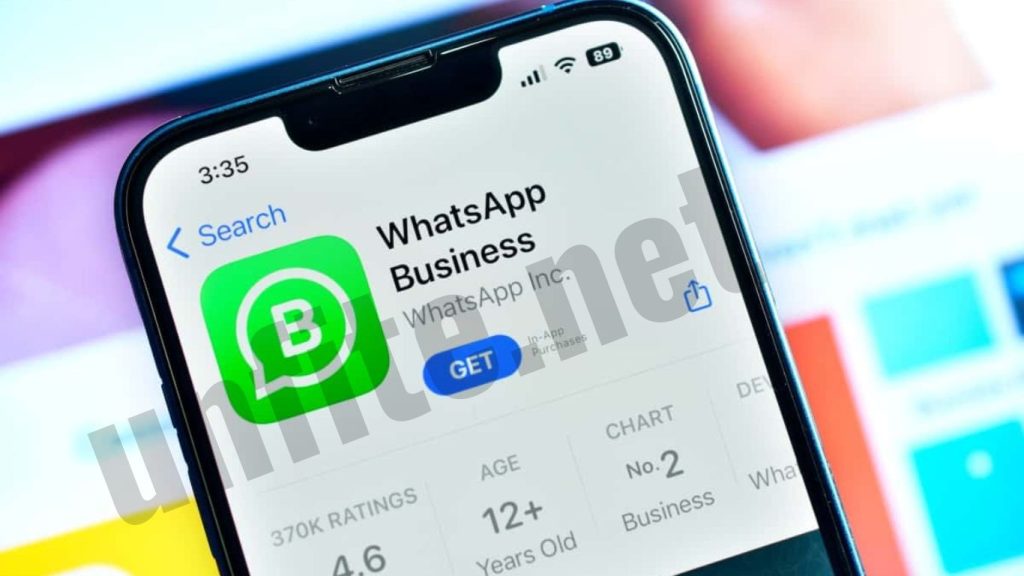
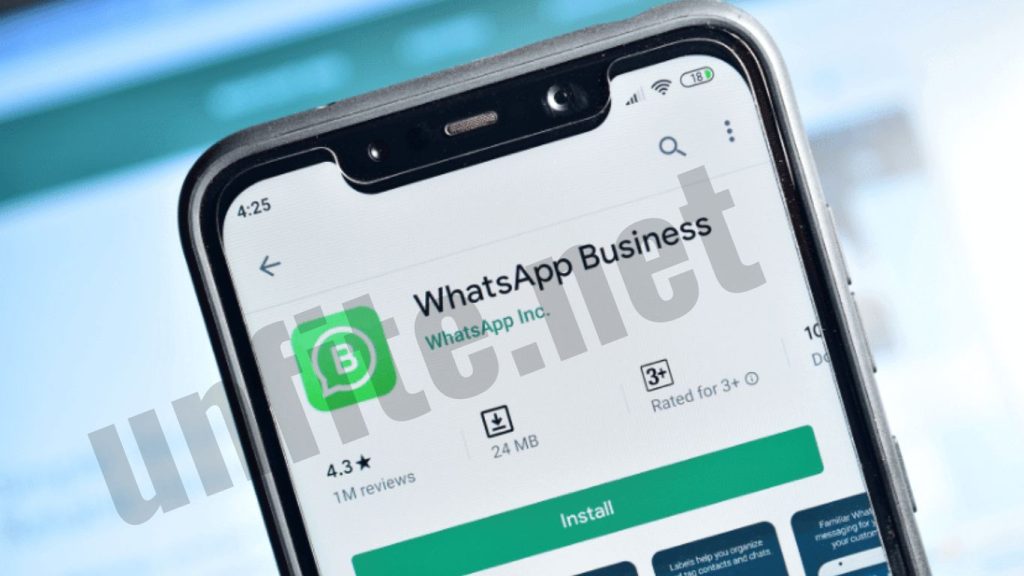
First, download and install the WhatsApp Business app, available for free on the Google Play Store and the App Store. Once the installation is complete, proceed to the next step.
Launch the App:
After downloading the app, open it on your device. You will be prompted to review and agree to the Terms of Service; make sure to read these thoroughly before accepting. Once you’ve decided, tap the “Continue” button to proceed.
Create Your Business Account:
At this stage, you can either use your existing phone number or create a new one for your WhatsApp Business account. Choose the option that best suits your business requirements.
Verify Your Number:
Once you’ve selected your number, the next step is verification. You will receive a six-digit code via SMS or a call. The app will automatically verify this code. If you don’t receive the SMS, you can opt for verification through a phone call.
Fill in Your Business Details:
Next, you’ll need to complete your business profile to help customers recognize and connect with you. Provide details such as your official email address, website link, and business hours. Additionally, you can create a catalog showcasing your services and products and use messaging tools to automate communication with clients. While these details are optional, they significantly enhance your profile’s functionality and customer engagement.
Grant Permissions:
If you’re converting an existing WhatsApp number into a business account, follow the specific conversion process. Be sure to grant the necessary permissions to proceed smoothly.
Create a WhatsApp Business Account:
Finally, complete your business profile by adding a profile photo, entering your business name, selecting a category, and writing a brief description of your offerings.
Downloading the WhatsApp Business App
To get started with WhatsApp Business, you’ll first need to download the app. Follow these steps:
Find the App:
Google Play Store: Search for “WhatsApp Business” on your Android device.
App Store: Search for “WhatsApp Business” on your iOS device.
Install the App:
Tap the “Install” or “Get” button to begin the download process.
Wait for the app to install on your device. This typically takes just a few moments.
Open the App:
Once installation is complete, open the WhatsApp Business app from your home screen or app drawer.
Prepare for Setup:
Ensure you have a stable internet connection and that your device meets the app’s requirements for optimal performance.
Opening the App and Accepting Terms
Launch the App:
Locate and open the WhatsApp Business app on your device. The welcome screen will greet you.
Review the Terms of Service:
The app will prompt you to read and agree to the Terms of Service. It’s important to review these terms thoroughly to understand your rights and obligations.
Accept the Terms:
Once you’ve read the Terms of Service, tap the “Agree and Continue” button to proceed.
Grant Necessary Permissions:
The app may request permission to access your contacts, photos, and other features on your device. Grant these permissions to enable the app’s full functionality.
Continue to Setup:
After accepting the terms and granting permissions, tap the “Continue” button to move forward with setting up your WhatsApp Business account.
Choosing and Verifying Your Phone Number
Select Your Phone Number:
Existing Number: If you wish to convert your current phone number into a WhatsApp Business account, you can choose to use it.
New Number: You can opt for a new phone number specifically for your WhatsApp Business account, which can help keep business communications separate from personal ones.
Enter Your Phone Number:
Input your chosen phone number into the app. Ensure you select the correct country code for accurate processing.
Verification Process:
Receive Verification Code: You will receive a six-digit code via SMS or phone call. This code is used to verify your number.
Automatic Verification: The app typically auto-detects the code and completes the verification process. To facilitate this, ensure you have a stable network connection.
Alternative Verification:
If you do not receive the SMS, you can choose to verify your number by phone. The system will call you and provide the verification code.
Enter the Code:
If the automatic verification doesn’t occur, manually enter the six-digit code you received via SMS or phone call into the app.
Complete Verification:
After entering the code, the app will confirm your phone number. If successful, you’ll proceed to the next step in setting up your WhatsApp Business account.
Setting Up Your Business Profile
Add Essential Information:
Profile Photo: Upload a precise and professional image, such as your company logo or a relevant business photo.
Business Name: Enter your business name as you want it to appear on WhatsApp. For consistency, this should reflect your official business name.
Business Category: From the provided options, select the category that best describes your business. This will help customers understand what your business offers.
Provide Contact Details:
Email Address: Enter your official business email address so customers can reach you.
Website Link: Include your business website URL if you have one. This allows customers to visit your site for more information.
Set Business Hours:
Operating Hours: Specify your business hours to inform customers when you are available. This helps manage customer expectations and improves communication efficiency.
Create a Business Catalog:
Add Products or Services: Use the catalog feature to showcase your offerings. Include detailed descriptions, prices, and images to make it easy for customers to browse and make informed decisions.
Utilize Messaging Tools:
Quick Replies: Set up automated responses for frequently asked questions to save time and provide consistent information.
Greeting Messages: Create a welcoming message that new customers receive when they first contact your business.
Away Messages: Configure messages to let customers know when you’re unavailable and when they can expect a response.
Complete Your Profile:
Review all entered details to ensure accuracy and completeness. Make any necessary adjustments to improve your profile’s effectiveness.
Optimize for Engagement:
Profile Description: Write a concise and engaging description of your business to attract and inform potential customers.
Visuals: Ensure that all images and content are high-quality and represent your business well.
Converting an Existing WhatsApp Number
Open WhatsApp Business:
Launch the WhatsApp Business app on your device.
Select the Conversion Option:
On the welcome screen, tap the option to convert an existing WhatsApp account into a WhatsApp Business account.
Verify Your Phone Number:
The app will prompt you to enter the phone number you want to convert. Ensure you input the correct number and select the appropriate country code.
Receive Verification Code:
You will receive a six-digit verification code via SMS or phone call. Enter this code into the app. If the code is not automatically detected, you may need to manually input it.
Grant Necessary Permissions:
Allow the app to access your contacts, media, and other relevant permissions to ensure it can function properly and sync with your existing account data.
Review and Restore Chat History:
If you have an existing WhatsApp account with a chat history, you will be prompted to restore your chat history. Follow the instructions to complete the restoration process.
Set Up Your Business Profile:
After conversion, set up your business profile by adding a profile photo, business name, category, and other relevant details as outlined in the profile setup section.
Configure Business Features:
To enhance your communication with customers, set up business-specific features such as Quick Replies, Greeting Messages, and Away Messages.
Verify Business Information:
Ensure that all business information, such as contact details and business hours, is accurate and up-to-date.
Complete the Setup:
Please review your profile and settings to confirm that everything is correctly configured. Your WhatsApp account is now set up as a WhatsApp Business account.
Frequently Asked Questions
What is WhatsApp Business?
WhatsApp Business is a free app designed for small businesses to communicate with their customers. It provides features like automated messages, business profiles, and product catalogs to enhance customer interaction and streamline communication.
How do I download the WhatsApp Business app?
You can download the WhatsApp Business app for free from the Google Play Store for Android devices or the App Store for iOS devices. Search for “WhatsApp Business” and follow the installation instructions.
Can I use my existing WhatsApp number for WhatsApp Business?
Yes, you can convert your existing WhatsApp number into a WhatsApp Business account. During the setup process, you will be given the option to use your current number or obtain a new one.
How do I verify my phone number for WhatsApp Business?
After entering your phone number in the app, you will receive a six-digit verification code via SMS or phone call. The app will automatically detect and verify the code. If necessary, you can manually enter the code provided.
What information should I include in my business profile?
Your business profile should include a profile photo, business name, category, email address, website link, and business hours. You can also add a catalog of products or services and set up messaging tools for automated responses.
Do I need to set up a new phone number for my business?
It’s not necessary to set up a new phone number; you can use your existing number if preferred. However, using a separate number for business purposes can help keep communications organized and distinct from personal use.
Conclusion
Setting up a WhatsApp Business account is straightforward and can significantly enhance your business’s communication capabilities. By following the steps to download the app, verify your phone number, and complete your business profile, you position your company to effectively engage with customers and streamline interactions. Leveraging features such as Quick Replies, automated messages, and product catalogs can further improve customer service and operational efficiency.
Whether you’re converting an existing WhatsApp number or starting fresh, a well-set-up WhatsApp Business account helps establish a professional presence and offers valuable tools for growing your business. With your account ready, you can now focus on utilizing these features to build stronger relationships with your customers and drive your business forward.